After reading this, you will know exactly which tools belong in a guitar maintenance kit, what each one does, and the order to buy them in — so your strings last longer and your restringing sessions stop being a fight.
Restringing a guitar at midnight before a gig is a scenario plenty of players know too well. The ball end of the low E slips out of your fingers for the third time because the only tool within reach is a pair of household pliers that keep crushing the winding. Or you are wiping down your strings after practice with a paper towel, and it shreds, leaving lint packed into the wraps of the D string. These are not rare failures. They are the predictable outcomes of improvising maintenance with whatever happens to be on your desk.
A proper maintenance kit removes every one of those improvisations. It does not cost much, takes up less space than a paperback, and pays for itself in the first two string changes. Below is the ranked list of what belongs in every kit, starting with the tools that matter most and moving down to the optional extras you can add later.
1. The Right String Winder (With a Built-In Cutter)
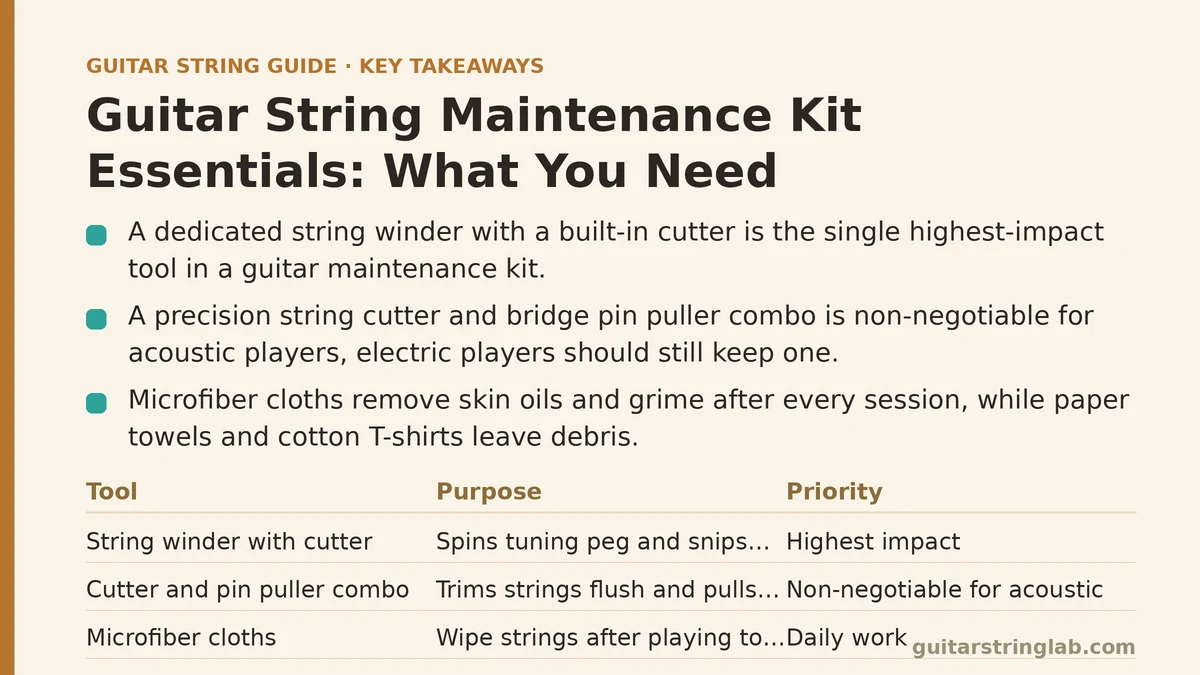
This is the single highest-impact tool in the kit, and it is the one players most often skip. A dedicated string winder spins the tuning peg in seconds instead of the slow, finger-cramping twist of doing it by hand. The built-in cutter on the back of most models sits flush against the peg, letting you snip the excess string cleanly at the exact right length.
In practice, the difference is not just speed. The cutter on a winder is designed to make a clean shear cut through wound strings without crushing the core wire. Household scissors or wire cutters often flatten or distort the string end, which can cause the string to slip at the tuning post or create a weak point that snaps later. A winder with a cutter costs around ten dollars and eliminates a whole category of restringing failures.
2. A Precision String Cutter and Bridge Pin Puller Combo
If you own a winder with a cutter, you might think you are covered. You are not, for two reasons. The winder’s cutter is optimized for clipping the excess at the peg, but it is bulky for trimming strings flush inside the bridge cavity on an acoustic. And on acoustic guitars, the real bottleneck is pulling the bridge pins, which tight-fit into the bridge plate and resist even firm finger pressure.
A dedicated combo tool — a small, angled cutter with a curved notch on the handle that hooks under the bridge pin head — solves both problems in one tool. The angled cutters reach into tight spaces the winder cannot. The bridge pin puller leverages the pin out without the risk of gouging the bridge finish that comes from prying with the edge of a key or a screwdriver. For acoustic players this is a non-negotiable item. Electric players can rank it one step lower, but should still keep one for clean cuts at the saddle.
3. Microfiber Cloths (At Least Two)
This one sounds too simple to make the top three, but it is the tool that does the most daily work. After every playing session, a single slow wipe down the length of each string removes the skin oils, dead cells, and airborne grime that accelerate corrosion and dull the tone. The key is the cloth material. Paper towels shred, cotton T-shirts leave lint, and both leave debris trapped in the wrap wire of wound strings.
Microfiber picks up the oils without leaving anything behind. You need two, not one. The first is a lightly dampened cloth for pulling off the heavier buildup, and the second is a dry cloth for the final polish and to remove any moisture left from the first pass. Keep one in the kit and the other near your practice spot. If you only buy one cloth, the dry one matters more — a dry wipe is enough for most sessions.
4. A Fast-Acting String Cleaner or Conditioner
A dry wipe handles the surface oils, but it cannot dissolve the baked-on residue that accumulates around the contact points — the fret edges, the bridge saddle, the nut slots. That residue is a mix of oxidized metal, dead skin, and oils that hardens into a film. It deadens the string’s vibration and adds a gritty texture under the fingers.
A purpose-made string cleaner, either a spray or a wipe-on liquid, breaks that film down chemically. Apply it to the cloth first, not directly to the strings, then run the cloth along the full length. Pay extra attention to the wound strings, where the residue hides inside the gaps between the wrap coils. One application per week is enough for most players. Heavy-handed application every day can strip the natural lubricity of the string and shorten its life, so treat this as a weekly step, not a daily one.
5. A Small Phillips Screwdriver and a Hex Key Set
You will not use these every week, but when you need them, they are the difference between a five-minute fix and a trip to a repair shop. The Phillips screwdriver handles loose output jack plates on electrics, tremolo cover screws, and any hardware that works itself loose from the vibration of regular playing. The hex keys — specifically 1.5mm, 2mm, and 2.5mm — cover truss rod adjustments on most modern guitars, saddle height adjustments on fixed bridges, and the set screws on locking tuners.
Get the shortest hex keys you can find. Long ones are harder to maneuver in the tight recess around the truss rod nut, and they add unnecessary bulk to the kit. A magnetic tip on the screwdriver is worth paying a dollar extra for, because dropping a tiny screw into the soundhole of an acoustic is a ten-minute retrieval job you will never want to repeat.
6. A Fretboard-Approved Cleaning Cloth (Separate from String Cloths)
The fretboard needs different treatment than the strings, and using the same cloth for both is the mistake this item prevents. Fretboard wood is porous and absorbs the oils and grime that a string cloth accumulates. Wiping the fretboard with a cloth that has been cleaning your strings transfers that buildup directly into the wood grain, where it hardens and dulls the board’s appearance over time.
Keep a dedicated, untreated cloth for the fretboard. On clean hands, a dry wipe is enough between string changes. When you do a full setup, use a conditioning product made specifically for the wood on that board — lemon oil for rosewood and ebony, and a plain dry wipe for maple, which should never get oil. The dedicated cloth keeps the products and the contamination separate.
7. A Tiny Brush for Nut Slots and Bridge Pin Holes
The final essential is the one most kits omit entirely. Over weeks of playing, the nut slots and the holes in the bridge pin sockets collect a fine, gritty dust made of metal filings from the string vibrating against the nut, plus dried residue from the string coating or wrapping. This grit acts like sandpaper at the contact point. It wears the string down faster, flattens the underside of the string where it sits in the slot, and can even widen the nut slot over time, which causes intonation problems.
A small nylon or brass brush — the kind sold for cleaning electric razors works well — sweeps this grit out cleanly. Do this every time you change strings. A toothpick works in a pinch, but a proper brush reaches the bottom of the slot without splintering or leaving wood debris behind.
The Full Kit at a Glance
| Item | Priority | Use Frequency | Approx. Cost |
|---|---|---|---|
| String winder with cutter | 1 | Every string change | $8–$15 |
| Precision cutter & bridge pin puller | 2 | Every string change | $10–$20 |
| Microfiber cloths (2) | 3 | Every practice session | $5–$10 |
| String cleaner/conditioner | 4 | Weekly | $8–$15 |
| Screwdriver & hex key set | 5 | As needed | $10–$20 |
| Fretboard cloth (dedicated) | 6 | Every string change | $3–$8 |
| Nut slot brush | 7 | Every string change | $2–$6 |
What You Can Skip (For Now)
Three items show up in every “essential kit” list online that you do not need on day one. A fretboard conditioner is useful but stays in the drawer until your first string change. A string gauge ruler is nice for setups, but if you are not adjusting your own intonation yet, you will not use it. And a dedicated case humidifier matters only if you live in a climate with extreme humidity swings — if your bedroom sits in a normal 40–60% range, skip it.
Build the kit in the priority order listed. Start with the winder, the cutter, and the cloths. Use them consistently for one month, and you will notice two things: your strings hold their bright tone longer between changes, and the restringing process itself drops from a twenty-minute chore to a five-minute habit.
Which of these seven items are you missing from your current setup, and how often do you change your strings? Tell me your routine and I will point out which addition would give you the fastest measurable improvement.
Related guides: How to Clean Guitar Strings to Make Them Last Longer, Guitar String Storage Tips, and How Long Do Guitar Strings Last.