After reading this guide, you’ll be able to run a three-point string inspection in under a minute and catch a worn string before it ruins a recording session or a live performance. Here’s how to read the phases of string wear—and why the sound you hear is the last signal to arrive, not the first.
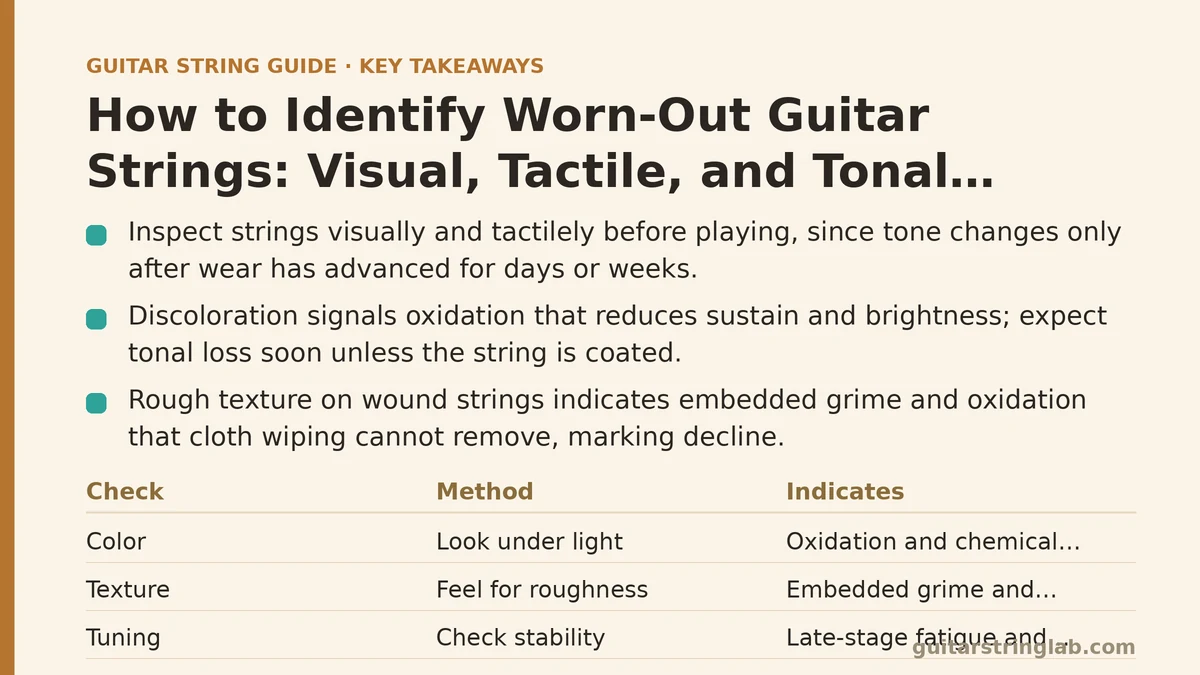
| Check | What to Look/Feel For | Worn Sign | Action |
|---|---|---|---|
| Visual | Color and shine vs. fresh strings | Dull, patchy, dark streaks | Change set if heavily worn |
| Visual | High E vs. low E reflectivity | Uneven brightness | Inspect further |
| Tactile | Finger slide along A and D strings | Catches like a fine file | Note rough string |
| Tactile | Localized feel along string | Rough patch near frets | String in decline |
| Surface | Oxidation discoloration | Noticeably darker than install | Expect brightness loss |
| Surface | Grime in wrap wire gaps | Gritty or sticky buildup | Wiping won’t fix |
| Tuning | Pitch stability | Holds tune despite wear | Not a reliable sign |
| Tone | Brightness and sustain | Last signal to arrive | Already worn for weeks |
Myth: You Can Only Tell Strings Are Worn by Playing Them
Strumming a chord and listening is how most players judge string health. It works, but it only reveals the final stage of wear. By the time the tone drops, the string has been accumulating damage for days or weeks.
Reality: Worn strings leave visible and tactile evidence well before they sound bad. Dark spots, rough patches, and subtle changes in how the string feels under your fingertip all appear earlier than any audible shift. A quick visual and touch inspection catches problems at a stage where you can still decide whether to change the full set or just a single string.
Myth: Discoloration Is Just Cosmetic and Doesn’t Affect Playability
Strings naturally darken as oxidation builds on the surface. Many players wipe them down, notice the color change, and assume it’s harmless—just a patina that doesn’t change anything functional.
Reality: Discoloration is the earliest measurable sign of chemical breakdown in the metal. When the surface oxidizes, it stops vibrating as freely as fresh metal, which reduces the string’s ability to sustain a clear fundamental tone. The visual change tracks a physical change that measurably affects response. If the string looks noticeably darker than when you installed it, expect the brightness to follow within a short window unless the string is coated.
Myth: Rough Texture on Wound Strings Means You Just Need to Wipe Harder
Gritty or sticky buildup on the low strings gets dismissed as dirt that can be polished off. Players scrub the strings with a cloth, see some improvement, and think the problem is solved.
Reality: The roughness comes from grime wedged into the microscopic gaps between wrap wire coils, plus oxidation on the wire surface itself. Cloth wiping removes surface oil but cannot reach inside those crevices. Once debris embeds that deep, it stays there for the life of the string, affecting how the string bends and how it speaks when you play. If a string has a rough patch near the frets where your fingers make contact, that string has entered its decline phase even if the tone still sounds passable.
Myth: If the Guitar Stays in Tune, the Strings Are Still Fine
Tuning stability is a slow-moving failure. A string that’s lost its elasticity holds pitch longer than you might expect—the metal fatigues gradually, so the drift happens over days, not minutes.
Reality: Tuning stability and tonal clarity degrade on different timelines. A string can hold tuning for weeks while its brightness and sustain have already halved. By the time you notice tuning problems, the string has been worn out for a long stretch. Relying on tuning as your checkmark means you’re playing on dead strings during exactly the period you care most about your sound—practice sessions and performances.
The Three-Point Inspection
Run this check on your instrument at the start of each practice or before a gig. It takes under a minute and covers all the signals discussed above.
Step 1 — Look at the string’s color and shine. Hold the guitar under direct light and compare the high E string to the low E. Fresh strings reflect light evenly from the plain steel strings and show consistent brightness across the wound strings. Worn strings look duller, sometimes patchy, with dark streaks where the frets wore against them. If the string looks like it’s been through a sandstorm, skip the rest of the inspection and change the set.
Step 2 — Run a finger along each wound string. Slide your index finger smoothly down the length of the A and D strings, from the bridge toward the nut. A fresh wound string feels nearly slick. A worn string catches slightly, like a fine file, especially on the portion above the fretboard where your fretting hand makes contact. Pay attention to any section that feels different from the rest of the string—localized roughness means a specific spot has worn down.
Step 3 — Listen for the details you’ve been ignoring. Play an open chord and hold it for several seconds. Focus on two things: the initial attack brightness and the decay tail. A healthy string has a clear ping on the pick attack and a long, even decay. A worn string sounds thuddy at the attack, loses high-end shimmer within half a second, and the tail fades quickly. If you can’t hear a difference yet, compare a new string’s response to the current set by installing a single replacement string and A/B testing the same chord shape across both.
How Wear Signals Differ Between String Types
Uncoated strings show all three signals—discoloration, roughness, tonal drop—in that order, typically within a few weeks of regular playing. Coated strings delay all three, but the sequence stays the same. The coating slows oxidation, so discoloration shows up later, but once the coating wears through at the fret contact points, roughness and tonal loss accelerate quickly in those spots.
Nickel-plated steel strings tend to lose brightness before you feel any roughness, making the tonal check your most reliable signal. Pure nickel strings discolor faster but maintain a warmer tone for longer, so texture matters more than color. Stainless steel resists corrosion well but physically wears more slowly, meaning the tonal drop is the signal you’ll likely notice first.
When to Replace the Whole Set Versus a Single String
If your inspection turns up one rough or dull string, the others may still have life. Replace the single string and compare its brightness to the rest of the set. If the new string blends in, you’ve gained time from the others. If the new string sounds noticeably brighter than the remaining ones, the entire set is near the end of its life—replace them all now rather than playing on a mismatched set.
This approach saves money over time without sacrificing tone quality. You’re treating each string as an independent component with its own wear timeline, which is how they behave in practice.
The Cost of Ignoring the Signs
Playing on worn strings does more than sound bad. It dulls your ear for what fresh strings sound like, so you gradually accept a muddy tone as normal. It also affects your technique—thicker oxidation and roughness change the friction under your fingers, subtly altering your bend control without you noticing. Over months, that compounds into habits that feel wrong when you do finally restring.
A consistent inspection routine prevents that drift. You’ll know exactly when every string set reaches its end, and you’ll never again walk into a session wondering why your guitar sounds like it’s underwater.
Which of the three inspection steps have you skipped in the past? If you’re unsure about what you’re hearing or feeling on your current strings, describe the string brand, how old the set is, and what your check revealed, and you can judge whether it’s worth changing now or playing a bit longer.
Related guides: How Long Do Guitar Strings Last, How Often Should You Change Guitar Strings, and Can Old Guitar Strings Cause Fret Buzz.