Locking tuners often make a restring slower the first time, not faster. The mechanism that saves you winding time introduces a clamping step most players have never performed, and getting it wrong either strips the locking pin or leaves the string slipping under tension. The good news is that the sequence is short once you understand what each part is doing.
Below are the questions that come up most often when someone restrings a guitar with locking tuners for the first time, answered in the order you’ll hit them.
What do locking tuners change compared to standard tuners?
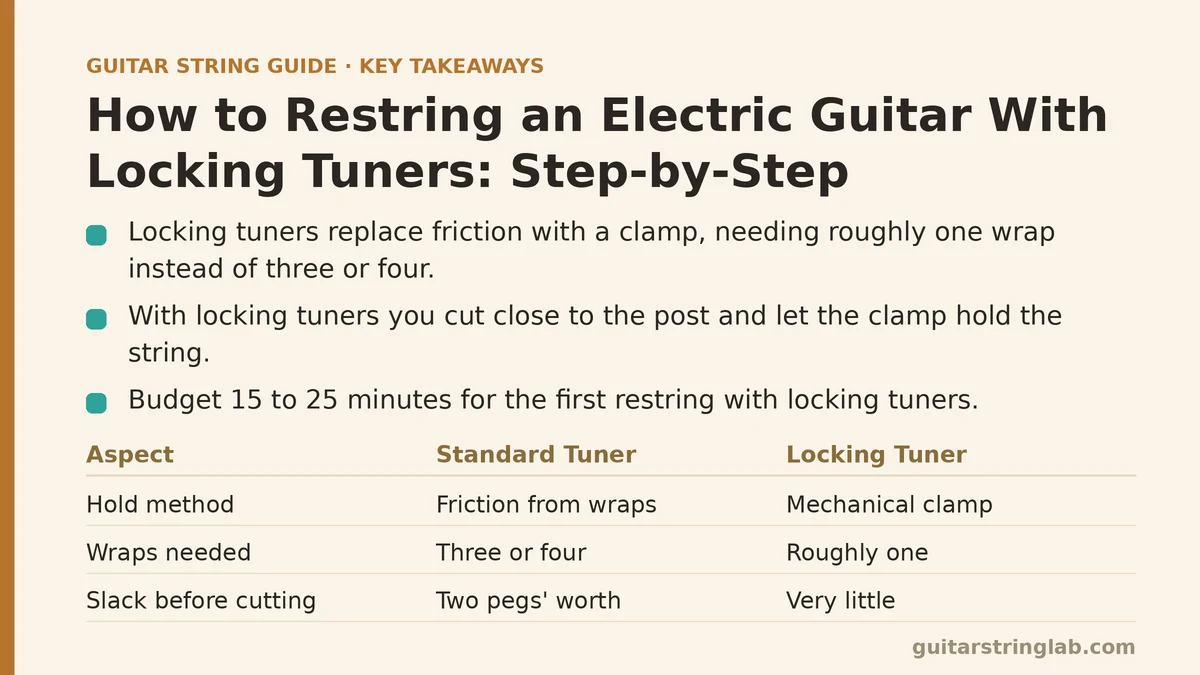
A standard tuner holds pitch by friction — the string wraps around the post several times, and those coils press against each other to resist slipping. A locking tuner replaces that friction with a mechanical clamp. A pin or thumbwheel inside the post grips the string directly, so winding becomes almost unnecessary.
The practical consequences:
- Roughly one wrap of string on the post, instead of three or four.
- No need to estimate slack before cutting. You cut close to the post and let the clamp do the holding.
- Faster tuning after a string change, because there is far less coil to settle.
- A new failure mode — a loose or over-tightened clamp — that standard tuners don’t have.
If your guitar came with locking tuners from the factory, they are typically the sealed, thumbwheel variety (Sperzel-style or similar). Some aftermarket sets use a push-in collar on the back of the headstock instead. Identify which type you have before you start, because the clamping step differs.
What you need before you begin
Gather everything first. A restring interrupted halfway to hunt for a tool is how strings get kinked.
| Item | Why it matters |
|---|---|
| New string set | Match your gauge. Switching gauge changes tension and may need a truss rod adjustment. |
| String winder | Optional with locking tuners, but still useful for the initial tensioning. |
| Wire cutters | Sharp ones. Dull cutters fray the wound strings and leave a burr. |
| Electronic tuner | Clip-on or pedal. You’ll retune several times. |
| Microfiber cloth | For wiping the fretboard and the back of the neck while strings are off. |
| Allen key (if required) | Some locking tuners use a small hex screw rather than a thumbwheel. |
Budget 15 to 25 minutes for the first attempt. Once the sequence is familiar, a full set typically takes 10 to 15 minutes.
Should you remove all six strings at once?
On most electric guitars with a fixed bridge, yes — removing all six at once is fine and makes cleaning the fretboard much easier. The neck is designed to handle the change in tension, and a short period with no strings won’t cause damage.
Two exceptions worth knowing:
- Floating tremolo systems (Floyd Rose and similar): remove strings one at a time, or block the tremolo first. Cutting all six at once lets the bridge snap back against the body, and rebalancing it afterward is a separate job.
- Guitars with a set-neck and very light build: work one string at a time if you’re unsure. The tension change is gradual that way.
For a standard hardtail or a Strat-style bridge with the tremolo decked, cutting all six is the faster path.
How much string should you leave past the post?
With standard tuners, the rule of thumb is two tuning pegs’ worth of slack. With locking tuners, that rule inverts — you want very little slack, so the clamp sits on clean, unkinked string rather than a coil.
Leave roughly 1 to 2 cm (about half an inch to an inch) past the post before you tighten the clamp. On most guitars, that means pulling the string hand-tight through the post, then trimming.
Trimmed too short? The string may not reach through the clamp. Trimmed too long? The excess wraps around the post anyway and defeats the point. If you cut one too short, you can sometimes still thread it, but if the clamp can’t grab a clean section, replace the string — a partially clamped string will slip and go sharp under bends.
What are the steps, start to finish?
Here is the full sequence for a six-string electric with thumbwheel-style locking tuners.
- Detune and remove the old strings. Loosen each tuner until the string goes slack, then pull it out of the post. If you have locking tuners, loosen the thumbwheel first so the clamp releases.
- Clean while the strings are off. Wipe the fretboard with a microfiber cloth. A small amount of fretboard oil on a rosewood or ebony board, applied sparingly, is fine here — never on maple.
- Feed the first string through the bridge and up to its tuner. Follow the correct path for your bridge type (through-body, top-load, or tremolo block).
- Thread the string through the tuner post. Push it through until it exits the other side. Leave 1 to 2 cm of excess.
- Tighten the locking clamp. Turn the thumbwheel clockwise until it stops. Finger-tight is enough — the clamp only needs to hold, not crush. Over-tightening is the most common way people damage the locking pin.
- Tune to pitch. The string will come up to pitch with very little winding. Expect only a fraction of a turn on the peg.
- Stretch the string. Grip it at the 12th fret, pull it about 2 to 3 cm away from the fretboard, and release. Do this two or three times.
- Retune and repeat for each string. After all six are on, do a full pass of stretches and retunes.
- Trim the excess. Cut the tail close to the post, leaving about 3 to 5 mm. File the cut end if it’s sharp enough to catch on a gig bag.
- Final tune and check intonation if you changed string gauge or brand.
How tight should the locking clamp be?
Finger-tight, then stop. The clamp is a friction grip on a steel string; it does not need significant torque. On thumbwheel designs, you’ll feel the wheel stop turning once the string is gripped. On Allen-key designs, a quarter turn past contact is usually enough — check the manufacturer’s spec if you have one.
Signs you’ve over-tightened:
- The thumbwheel feels gritty or hard to turn on subsequent changes.
- The string has a visible flat spot where the clamp bit in.
- The clamp pin itself shows deformation.
If a string slips under bending despite the clamp being tight, the clamp surface may have debris on it. Back the wheel off completely, wipe the inside of the post with a cloth, and re-clamp.
What are the most common mistakes?
Locking tuners are forgiving, but a few errors show up repeatedly.
- Leaving too much slack. This is the top mistake. Players carry over standard-tuner habits and leave two pegs of slack, which then wraps around the post and makes the locking feature pointless.
- Over-tightening the clamp. Covered above, but worth repeating because it’s the error that causes permanent damage.
- Skipping the stretch. Locking tuners reduce, not eliminate, settling. Strings still need to be stretched after installation, or you’ll drift flat during the first session.
- Cutting before threading. Cut the string to length after it’s through the post and clamped, not before. Over-trimming is unrecoverable.
- Forgetting to loosen the clamp on removal. Trying to pull the old string out while the clamp is still engaged can bend the pin or score the post.
If it goes wrong: A slipping string usually means the clamp isn’t seated — back off, clean, re-clamp. A stripped thumbwheel means the assembly needs replacement; locking tuner parts are typically available individually from the manufacturer rather than requiring a whole new set.
How often should you check the locking mechanism?
Every third or fourth restring, inspect the clamp. Back the thumbwheel all the way out and look inside the post for metal shavings, dirt, or a bent pin. A quick blast of compressed air, or a wipe with a dry cloth, clears most debris.
If the clamp has become difficult to turn or the string consistently slips, the tuner is due for replacement. Individual locking tuner units are commonly available — there’s no need to replace the whole set.
What to do next
Restring one string at a time on your first pass with locking tuners, even if your bridge type allows cutting all six. That gives you a chance to feel how the clamp engages and how little string needs to be on the post before committing to the full set.
Once you’ve done a full set this way, the next restring will be noticeably faster than your standard-tuner routine, mostly because the tuning settles in a fraction of the time. If you’re switching gauges as part of the change, plan a quick intonation check afterward — locking tuners don’t change intonation themselves, but a new string gauge will shift it. Bring the guitar up to pitch, play it for ten minutes, retune, and only then judge whether the setup feels right.
Related guides: How to Change Electric Guitar Strings, Common Guitar String Winding Mistakes, and How to Stretch New Guitar Strings.