Most players assume a guitar setup is a job for a professional—something that requires a workbench, years of training, and a technician’s steady hand. That’s the misconception worth clearing up first. The truth is that the five adjustments below cover nearly everything a standard setup involves, and four of the five are within reach of anyone who can turn a wrench patiently and measure carefully. What you actually need is a sense of which screw does what, the right order to touch them in, and the discipline to stop before you go too far.
Once you’ve worked through this guide, you’ll be able to handle truss rod relief, bridge saddle height, intonation, nut slot depth, and fret buzz on your own instrument—without handing a tech $75 to $120 for a single setup. You’ll also have a clear picture of which steps are safe on a first attempt and which ones are better left until you’ve built up some feel for the work.
Running the numbers makes the case on its own. A professional setup typically runs $60 to $150, depending on where you live and which shop you use. The tool kit for doing it yourself lands somewhere between $35 and $45, and those tools stay in your drawer for every guitar you’ll own over the next ten years. The math points one direction. What actually stops people is not knowing what to touch, in what sequence, and how far to turn each screw before backing off.
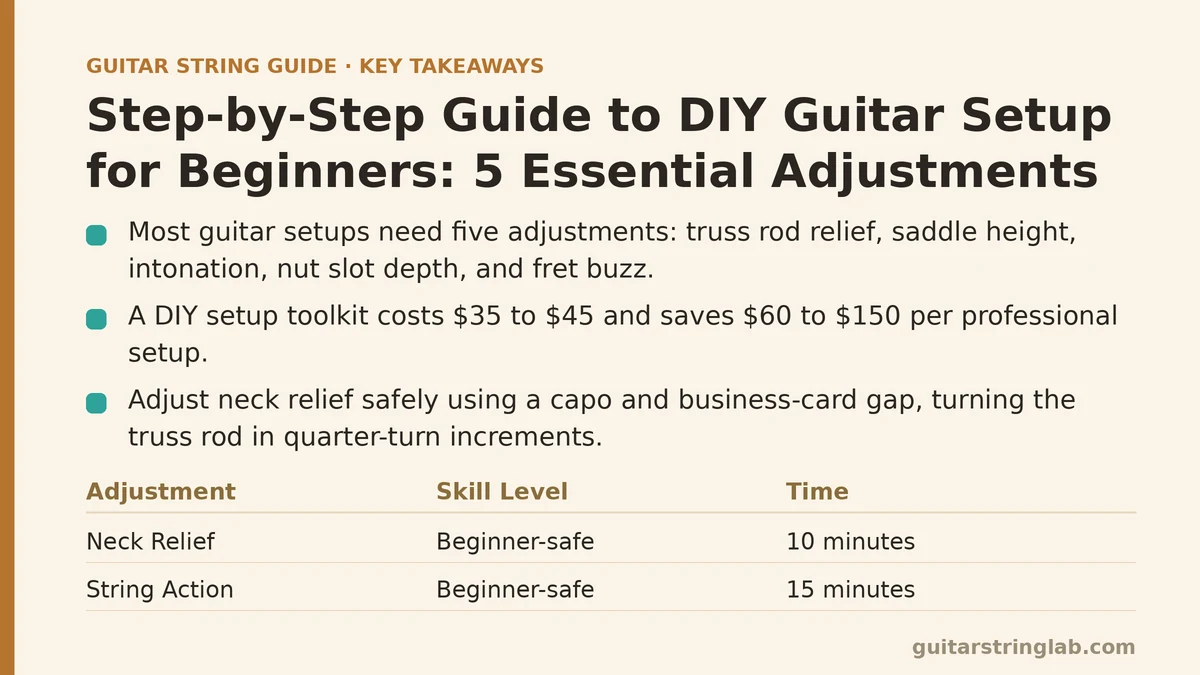
The 5 Essential Setup Adjustments, Ranked by Skill Level
The order below is the one I’d hand to anyone doing a first home setup. It runs from least risky to most delicate, so if you only get through the first two steps, your guitar already plays better and you haven’t put anything expensive in danger.
1. Neck Relief (Truss Rod Adjustment)
Tools needed: Truss rod wrench or socket. Usually 4mm or 5mm, sometimes 8mm on vintage-style guitars. Time: 10 minutes. Skill level: Beginner-safe.
The truss rod governs how much forward-bow or back-bow lives in your neck. When string tension pulls the neck too far forward, your action rises higher than it needs to be. When the neck has too much back-bow, strings start buzzing against the frets around the middle of the fretboard.
Locate your truss rod nut first. On most acoustics it sits inside the soundhole; on electrics it’s usually under a plastic cover plate on the headstock. Some modern Six-string guitars route access through the pickguard—check your manual if you can’t spot it.
To measure relief properly:
- Capo the string at the 1st fret.
- Press down on the same string at the fret where the neck joins the body (usually fret 14 or 15).
- Look at the gap between the bottom of the string and the top of the 7th or 8th fret.
- A typical spec is 0.008 to 0.012 inches—about the thickness of a business card. If the gap is larger, the neck is over-bowed and you need to tighten the rod (clockwise). If the string touches the fret entirely, loosen the rod (counter-clockwise).
Turn in quarter-turn increments only. Wait 30 seconds after each turn and recheck. Never force a stuck rod. If it won’t turn smoothly, stop and hire a professional rather than strip the nut.
2. String Action (Bridge Saddle Height)
Tools needed: 3mm hex wrench or a small screwdriver, depending on your bridge style. Time: 15 minutes. Skill level: Beginner-safe.
Action is the height of the strings above the frets. Higher action gives you more room to bend and a louder acoustic voice, but barre chords and fast runs start to feel like labor. Lower action plays faster but brings buzzing into the picture.
Start with these baseline heights at the 12th fret, measured from the top of the metal fret to the bottom of the string:
| String | Electric Guitar | Acoustic Guitar |
|---|---|---|
| Low E (6th) | 4/64 inch (1.6 mm) | 6/64 inch (2.4 mm) |
| High E (1st) | 3/64 inch (1.2 mm) | 5/64 inch (2.0 mm) |
Measure with a reliable digital caliper or a string ruler. If action reads higher than these specs, lower the saddles in small increments. On Fender-style bridges, that means the two hex screws on each saddle. On Gibson-style bridges, you have two larger thumbwheels that lift or drop the entire bridge.
The decision branch: If lowering the action produces fret buzz that wasn’t there before, raise those saddles back up until the buzz disappears, then accept that height. If neck relief is already set correctly and you still get buzz even with high action, the issue likely lives in the nut or the frets, not the bridge.
3. Intonation (Saddle Position)
Tools needed: A reliable electronic tuner. Clip-on or pedal style both work, though pedal tuners are faster to read. Time: 20 minutes. Skill level: Moderate.
Intonation is what keeps the guitar in tune all the way up the neck. With bad intonation, the open E string sounds perfect, but the 12th-fret E is noticeably sharp or flat. This isn’t a tuning problem—it’s a string-length problem.
The process, one string at a time:
- Pluck the open string and read its pitch on the tuner.
- Fret the same string at the 12th fret and check that pitch.
- If the fretted note is sharp (higher than open), the string is too short—move the saddle backward, away from the neck.
- If the fretted note is flat (lower than open), the string is too long—move the saddle forward, toward the neck.
- Retune the open string, recheck the fretted note, and adjust until the tuner reads both the same.
Typical screwdriver turns are tiny—one-eighth of a turn at a time. Expect to spend several minutes on each string. A guitar whose intonation is off by more than 5 cents at the 12th fret will sound noticeably bad on any chord with fretted notes.
4. Nut Slot Depth
Tools needed: Feeler gauges, specialized nut files, or a nail-file alternative. This is the first adjustment to approach with caution. Time: 30 minutes. Skill level: Intermediate, but achievable if you are patient.
The nut slots determine how high the strings sit at the fretboard’s first three frets. Slots cut too deep make the strings buzz against the first fret. Slots left too shallow make open chords strain your fingers and the guitar feel cumbersome.
The correct test: Capo at the 3rd fret. Press the string down at the 2nd fret. Check the gap between the string and the 1st fret. On a properly cut nut, that gap should be just barely visible—2 to 3 thousandths of an inch. This is tighter than most beginners realize, and a common mistake is leaving slots too shallow, which makes the guitar feel like it has high action even though the bridge is already set.
The risk: Nut files are small, sharp, and easy to over-file. Once you remove material, you cannot put it back. On a plastic or bone nut, a new nut costs $10 to $20 and a technician will install it in 15 minutes. On a guitar with a zero-fret system, do not touch the nut at all.
Recovery tip: If you file too deep and get buzz on the open string, place a tiny drop of superglue mixed with baking soda in the slot, let it cure, then re-file gently. This repair works in a pinch but is a short-term fix. For a permanent solution, have the nut replaced.
5. Fret Leveling and Polishing
Tools needed: Fret crowning files, polishing pads, masking tape. Time: 1.5 hours or more. Skill level: Advanced. Do not attempt this on your first setup.
Fret leveling cuts into the metal frets themselves to flatten high spots and eliminate buzzing caused by uneven fret tops. This is the one step where a small mistake turns a playable guitar into one requiring a fret-dress from a professional, which costs $150 to $250 and sometimes involves a full refret.
How to know if you need it: If your action is low, neck relief is set correctly, the nut slots are right, and you still hear a buzz that only occurs on one specific fret, you may have a high fret. You can confirm this with a notched straightedge placed across three frets. If it rocks, that fret is taller than its neighbors.
The cheaper alternative: Level only the offending fret rather than the entire board. Mark the high spot with a pencil, tape off the surrounding frets, and use a fine abrasive stone to get that one fret level. Even this requires care and a steady hand.
The honest recommendation: Skip this step entirely on your first or second setup. Get the first four adjustments dialed in, play for a month, and then decide if the residual buzz truly comes from fret height. Most setup buzz comes from saddle height or nut slots—not fret leveling.
The Complete Tool List, With Real Prices
| Tool | Purpose | Typical Cost |
|---|---|---|
| Digital caliper | Measure action and relief precisely | $12–$20 |
| String ruler with fret scale | Quick action checks | $6–$10 |
| Truss rod wrench set | Fits most guitar brands | $8–$12 |
| Hex wrenches (1.5, 2, 3 mm) | Bridge saddle screws | $5–$7 |
| Screwdrivers (small Phillips and flathead) | Intonation screws | $3 (household item) |
| Feeler gauges | Measure nut slot gap | $6–$10 |
| Electronic tuner | Intonation adjustment | $10–$25 |
| Masking tape | Protect fretboard while filing | $3 (household item) |
Total new purchase cost: $38 to $67. Measure that against the $75 one-time fee for a single professional setup, and the break-even point arrives by your second guitar.
Common Mistakes and How to Recover
Tightening the truss rod too far. Going past roughly half a turn beyond neutral tension can strip the rod or crack the neck heel. Recovery: loosen immediately. If the rod makes a cracking or clicking sound, stop, take string tension off the neck, and bring it to a shop.
Lowering action without checking relief first. The bridge and truss rod interact. Drop the bridge saddles before the neck has correct relief, and you end up chasing buzz by raising the saddles back up, then fighting the truss rod again. Recovery: always adjust relief first, then saddle height, and recheck after each change.
Setting intonation with a cheap tuner that drifts. Inexpensive clip-on tuners struggle to display cents accurately above the 7th fret. Recovery: for the intonation step, either use a pedal tuner with a bright display or a phone app with a wide frequency range. StroboSoft and GuitarTuna both need accuracy within 1 cent at the 12th fret for this to work.
Skipping the nut entirely and wondering why the first three frets still feel bad. Action is measured both at the nut and the bridge. A bridge set at a perfect 4/64 inch means nothing if the nut slot sits too high and the guitar feels like a fence post in lower positions. Recovery: run the nut gap test described in step 4 before assuming the bridge is the problem.
A Diagnostic Flowchart for When Your Guitar Still Buzzing
Follow this sequence when something feels wrong after your first setup attempt.
If you hear a buzz only on open strings: Clean the nut slots and check slot depth. If the open string buzz worsens when you play gently, the slot is too deep. If it happens only when picking hard, reduce your pick attack angle or raise the bridge slightly.
If you hear buzz on frets 1 through 5: This is almost certainly a nut issue or a slightly high fret at the middle of the neck. Recheck relief first, because a back-bowed neck feels exactly like this.
If you hear buzz on frets 5 through 12: The neck relief is likely too loose and the strings are making contact around the 7th to 10th fret. Tighten the truss rod slightly before touching anything else.
If you hear buzz above the 12th fret: The bridge action is most often the culprit here, especially if the buzzing appears only on the bass strings. Raise the affected saddles.
If buzz persists at any fret after all four steps are correct: You are dealing with uneven fret tops. Have a tech look at it. You are not failing, and the fix requires specialized files and experience you do not have yet.
What to Do Next (Today, This Week, Next Month)
Today: Order the tool list above. While it ships, check your neck relief and bridge action with tools you already have—a ruler and a tuner. Don’t turn any screws yet. Just measure and write down numbers so you know what your starting point looks like.
This week: Perform steps 1 and 2. Adjust relief, then set action to the baseline specs in the table. Play for 20 minutes. Write down how the guitar feels compared to before your changes. That comparison is your feedback loop.
Next month: Recheck relief and action—both will have settled slightly. Then attempt intonation. By the end of that session, your guitar should play noticeably better in every position.
After that: Only consider nut work or fret leveling if something still bothers you. The first four adjustments get about 90 percent of guitars playing their best. The remaining 10 percent belongs to the delicate work best left to experience.
Which of these five adjustments seems most intimidating right now—the truss rod, the nut, or the frets? Describe the symptom you’re chasing, and it points to the single most likely fix to try first.
Related guides: How to Measure Guitar String Action, Guitar Setup for Session Musicians and Touring Techs, and Beginner’s Guide to Adjusting Truss Rod Neck Relief.